Windows Installation Guide
From SPCTools
Intalling the Windows version of the TPP is fairly straightforward. Detailed instructions with lots of screenshots appear below. However, the following brief instructions may be sufficient:
- Make sure that you have rights to install software on your computer (i.e. Admin privileges)
- Install ActivePerl 5.8 (later versions will not work)
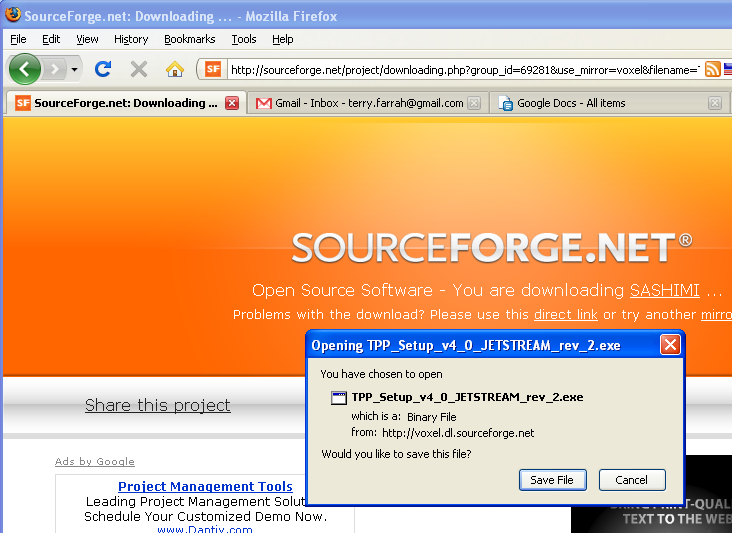
- Download the latest TPP here and install
Here are the detailed instructions. The screenshots are large; don't miss the instructions interspersed between them:
First install ActivePerl 5.8
ActivePerl 5.8 is not the most current version. Be sure to install 5.8, not 5.9, 5.10, or any later version.
The instructions below are accurate as of August 26, 2009. Details may change with time.
Go to www.activestate.com/Products/activeperl
DON'T click "Download Now" -- click the fine-print link "Other Systems and Versions".
Scroll down to the section for ActivePerl 5.8.9.826 MSI. Select x86 or 64-bit as appropriate and click "Windows Installer (MSI)"
Save to desktop. Double-click to install.
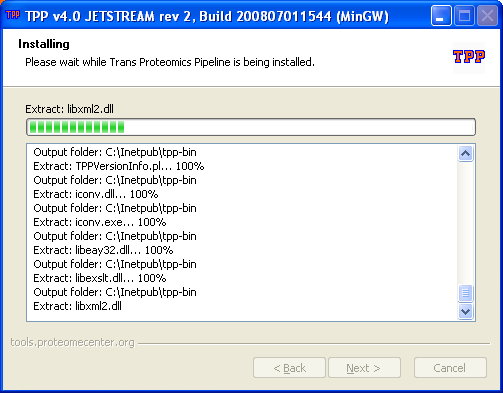
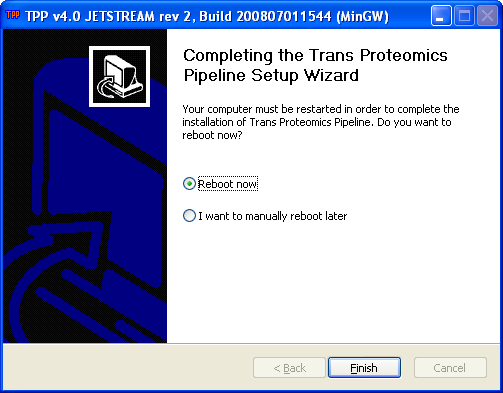
Now install TPP
(If you are not currently reading this from the spctools.org website: go to www.spctools.org/wiki, click on TPP in left nav bar, and click Windows Installation.)


